3D representation optimises production at Osaka Steel
With this latest investment in a laser-based light-section system from TBK Automatisierung und Messtechnik, a company based in Graz, Austria, Japanese steel section producer Osaka Steel will be able to achieve higher productivity and enhanced quality control thanks to next-generation dimension measurement.
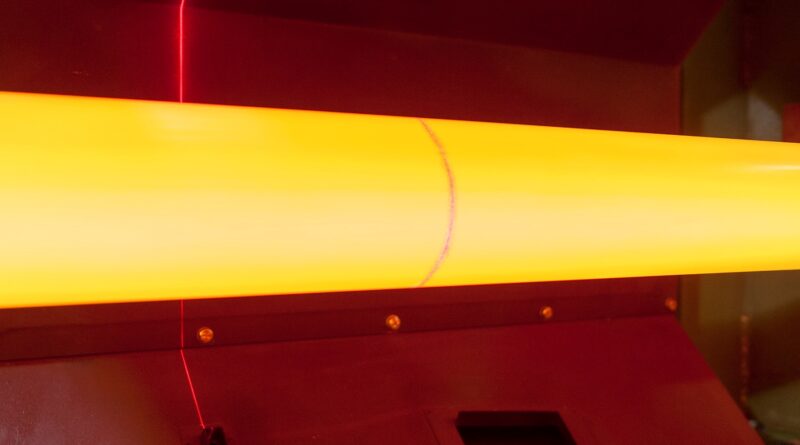
Using PROgauge, the company can now perform surface analyses based on 3D representation, optimizing its production in an area that could not be measured up to now.
Osaka Steel, based in Osaka, is also known outside of Japan for its high-quality steel products which are supplied to numerous industrial sectors, including construction, civil engineering, shipbuilding, steel towers, and industrial machinery manufacturing. The PROgauge system from TBK will be Osaka Steel’s first surface inspection system measuring directly after the finishing stand.
The PROgauge laser measuring system is designed to measure a wide range of small and medium sections between 45 and 200 millimeters in size – including angles, channels, rails, and elevator guiderails.
The system also includes the SurfTec surface analysis function developed by TBK for the inline detection of surface defects. This allows the sections to be measured in a hot state directly after the last mill stand. SurfTec is currently being fine-tuned and, based on the defects identified, it will be possible to draw conclusions as to their cause.
This means that the frequency of manual inspections will be drastically reduced. Thanks to PROgauge, Osaka Steel will be able to enhance its process analysis, which in turn will provide time and cost savings.
The PROgauge laser measuring device combines two functions within one device: shape and size measurement, and surface analysis. Thanks to the high scanning rate and the large number of measuring points, the surface can be shown in 3D.
The comprehensive remote support provided by TBK enabled the successful and timely commissioning of the system.


